
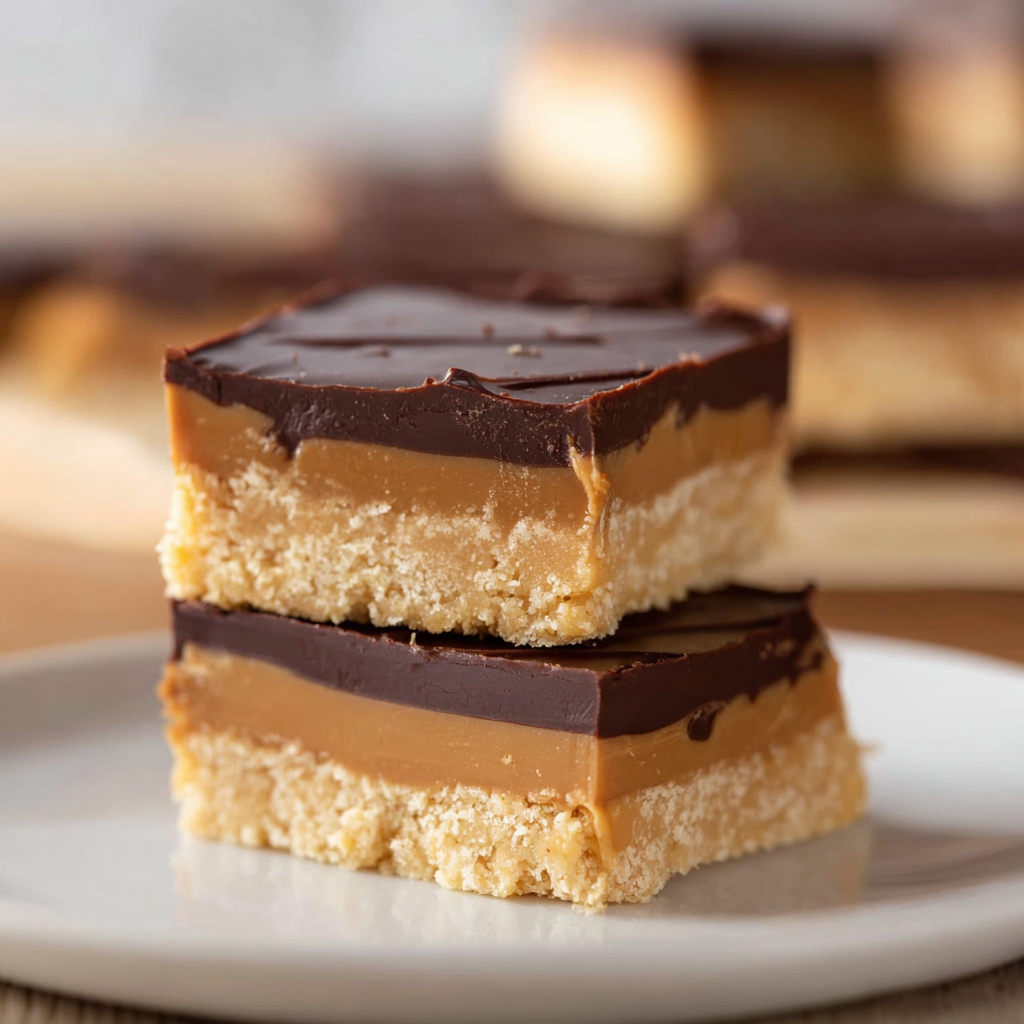
No Bake Buckeye Bars

Creamy, chocolate-topped peanut butter bars with a crunchy graham cracker base — an easy make-ahead treat that disappears fast.

Why You'll Love This Recipe
- Ready with only 10 minutes of active prep and a short chill time, making it perfect for last-minute gatherings.
- Uses pantry staples: graham crackers, peanut butter, powdered sugar, butter, and chocolate chips — easy to assemble any time.
- Make-ahead friendly: assemble the night before and refrigerate so flavors meld and the chocolate sets firm.
- Crowd-pleasing texture contrast: crunchy base, creamy center, and shiny chocolate topping that cuts cleanly.
- Flexible and forgiving: freezer-chill to speed setting, swap chocolate types, or add a pinch of sea salt for depth.
- Great for transport and sharing — squares stay intact in a snug container and resist melting if kept cool.
I first discovered this approach to buckeye-inspired bars when I wanted a less fussy version of the candies for a holiday brunch. Family members kept coming back for more, and I tweaked the butter ratio and chocolate type over time until the texture hit that just-right density. These have become my emergency dessert for unexpected guests — they always wow the crowd.
Ingredients
- Graham crackers: 2 cups graham cracker crumbs (from about 14 full rectangle crackers or 28 squares). I use Nabisco-style whole graham crackers for consistent flavor; the crumbs provide a crunchy, slightly honeyed base that keeps the squares from becoming soggy.
- Butter: 1 cup (8 tablespoons) unsalted butter, melted. Butter binds the crumbs and adds richness; unsalted lets you control sodium — use salted only if you prefer a slightly brinier edge.
- Powdered sugar: 2 cups confectioners' sugar. This gives structure and the classic sweet, slightly chalky bite of buckeye confections. Sift if lumpy for the silkiest texture.
- Creamy peanut butter: 1 cup for the base plus 2 heaping tablespoons for the topping. Choose a smooth, lightly salted brand like Jif, Skippy, or Peter Pan for the most nostalgic flavor; natural styles can be used but may affect spreadability.
- Chocolate chips: 2 cups semisweet or milk chocolate chips for the topping. I often reach for Ghirardelli semisweet chips for a glossy finish and deep cocoa flavor — swap to milk chocolate if you prefer sweeter, or use dark chocolate for contrast.
Instructions
Prepare the pan: Line a 9x9-inch square pan with parchment paper, leaving an overhang on two sides for easy removal. This prevents sticking and makes it simple to lift the whole slab out for slicing. Use a pan close to 9x9; a slightly larger pan will yield thinner squares. Make the crumbs: Pulse about 14 full graham crackers (28 squares) in a food processor until you have 2 cups of fine crumbs. If you don’t have a food processor, put crackers in a zip-top bag and crush with a rolling pin until finely ground. The crumbs should feel sandy but still have tiny flaky bits for texture. Build the peanut butter base: In a large bowl, combine 2 cups graham cracker crumbs, 1 cup melted butter, 2 cups powdered sugar, and 1 cup creamy peanut butter. Stir with a sturdy spatula until completely blended — the mixture should be dense and pliable, not runny. If it seems too dry, add a teaspoon of warm water; if too soft, add a tablespoon more powdered sugar. Press into pan: Transfer the peanut butter mixture to the prepared pan and press firmly and evenly into an even layer. Use the bottom of a measuring cup to compact the surface tightly; this helps the base hold together when you slice squares later. Melt the topping: Place 2 cups chocolate chips and the remaining 2 heaping tablespoons creamy peanut butter in a microwave-safe bowl. Microwave in 30-second intervals, stirring between each, until smooth and glossy and fully combined. Alternatively, melt in a double boiler over simmering water, stirring until sheen appears. Top and chill: Pour the melted chocolate-peanut butter mixture over the pressed base and spread into a thin, even layer with an offset spatula. Refrigerate for at least 1 hour until the chocolate is firm. For a quicker set, freeze for 30 minutes. Use sharp knife warmed under hot water and wiped dry to slice cleaner squares.
You Must Know
- These keep well refrigerated for up to 7 days in an airtight container; freeze up to 3 months. Thaw in the refrigerator overnight before serving.
- High in calories and fat per square — about 263 kcal each — so small squares are satisfying while keeping portions reasonable.
- Freezing for 30 minutes speeds the chocolate set and firming of the peanut layer if you’re in a hurry to serve.
- Use parchment with an overhang to lift the entire slab out for slicing; this preserves clean edges and makes serving effortless.
My favorite part of these bars is how reliably they get rave reviews from every age group. Kids adore the peanut butter and chocolate combo, while adults often comment on the nostalgic graham cracker base. I’ve taken these to dozens of gatherings and once brought a tray to a holiday cookie swap where three people asked for the recipe — a true sign of success.
Storage Tips
Store squares in a single layer or separated by parchment in an airtight container to prevent the chocolate from picking up odors from the fridge. At room temperature, they hold for a few hours on a cool day, but refrigeration is best to keep the chocolate glossy and the peanut layer firm. For longer storage, freeze flat in a shallow container for up to 3 months; place parchment between layers to prevent sticking. Reheat briefly at room temperature or in the refrigerator to avoid condensation on the chocolate surface.
Ingredient Substitutions
If you need to swap ingredients, try gluten-free graham-style crumbs to make a gluten-free version — note that texture and flavor will change slightly. Natural peanut butter can be used, but stir it well and reduce any excess oil before mixing, or chill slightly so the filling firms better. Almond butter or sunflower seed butter work for nut-free or different-flavored bars, though you may need to adjust powdered sugar by a tablespoon or two for binding. Dark chocolate chips give a sophisticated edge; white chocolate will be sweeter and softer.
Serving Suggestions
Serve small squares on a dessert platter garnished with a light sprinkle of flaky sea salt to lift the chocolate and peanut flavors. Pair with cold milk, coffee, or a creamy latte. For a festive presentation, drizzle warmed white chocolate across the top before the first chill and add holiday sprinkles while soft. These make excellent additions to bake sale boxes or boxed gifts — stack in parchment-lined tins with a ribbon for a homemade touch.
Cultural Background
The buckeye candy is rooted in Midwestern tradition, especially Ohio, named for the glossy nut-like appearance resembling the Ohio buckeye. These bars borrow the flavor profile — peanut butter and chocolate — and translate it into an easier format. No-bake variations have long been popular where stovetop or ovenless preparation was preferred, and this adaptation leans into Americana pantry staples like graham crackers and chocolate chips.
Seasonal Adaptations
In summer, lighten the topping with milk chocolate and add a pinch of flaky salt for contrast. For autumn, fold a teaspoon of ground cinnamon into the powdered sugar or use ginger snap crumbs in place of graham crackers for spiced notes. During winter holidays, top with crushed peppermint pieces or sprinkle toasted chopped pecans atop warm chocolate before it firms for a festive crunch.
Meal Prep Tips
Double the batch and freeze half in individually wrapped squares for grab-and-go treats. Press into a larger 9x13 pan if feeding a crowd and increase the chocolate topping proportionally. Label containers with the date and contents; thaw overnight in the refrigerator when ready to serve. A warmed knife between slices gives you consistently clean edges when cutting from chilled slabs.
These No Bake Buckeye Bars are a simple, nostalgic crowd-pleaser that reward minimal effort with maximum delight. Make a tray for your next gathering and see how quickly they vanish — then tuck the recipe away because you’ll be asked for it again and again.
Pro Tips
Press the base firmly with the bottom of a measuring cup to prevent crumbling when slicing.
Warm and dry your knife between cuts for neat edges — run under hot water, dry, then slice.
If using natural peanut butter, chill the mixed base briefly to help it firm before pressing into the pan.
Freeze for 30 minutes to speed up setting if you’re short on time.
This nourishing no bake buckeye bars recipe is sure to be a staple in your kitchen. Enjoy every moist, high protein slice — it is perfect for breakfast or as a wholesome snack any time.
Tags
No Bake Buckeye Bars
This No Bake Buckeye Bars recipe makes perfectly juicy, tender, and flavorful steak every time! Serve with potatoes and a side salad for an unforgettable dinner in under 30 minutes.
Ingredients
Base
Topping
Instructions
Prepare the pan
Line a 9x9-inch square pan with parchment paper, leaving an overhang on two sides for easy removal. This prevents sticking and ensures clean slicing later.
Make the crumbs
Pulse about 14 full graham crackers in a food processor until you have 2 cups of fine crumbs. Alternatively, crush in a zip-top bag with a rolling pin until sandy.
Mix the base
Combine 2 cups graham cracker crumbs, 1 cup melted butter, 2 cups powdered sugar, and 1 cup creamy peanut butter in a large bowl. Stir until dense and evenly blended.
Press into pan
Press the peanut butter mixture firmly and evenly into the prepared pan, using the flat bottom of a measuring cup for compactness.
Prepare the topping
Melt 2 cups chocolate chips with 2 heaping tablespoons peanut butter in 30-second microwave intervals, stirring until smooth. Alternatively, melt in a double boiler.
Top, chill, and slice
Spread the melted chocolate evenly over the base. Refrigerate at least 1 hour (or freeze 30 minutes) until set. Lift from pan using parchment overhang and slice into 25 squares with a warm, dry knife.
Last Step: Please leave a rating and comment letting us know how you liked this recipe! This helps our business to thrive and continue providing free, high-quality recipes for you.
Nutrition
Did You Make This?
Leave a comment & rating below or tag
@kitchenfunwithmy3sons on social media!
Categories:
You might also like...
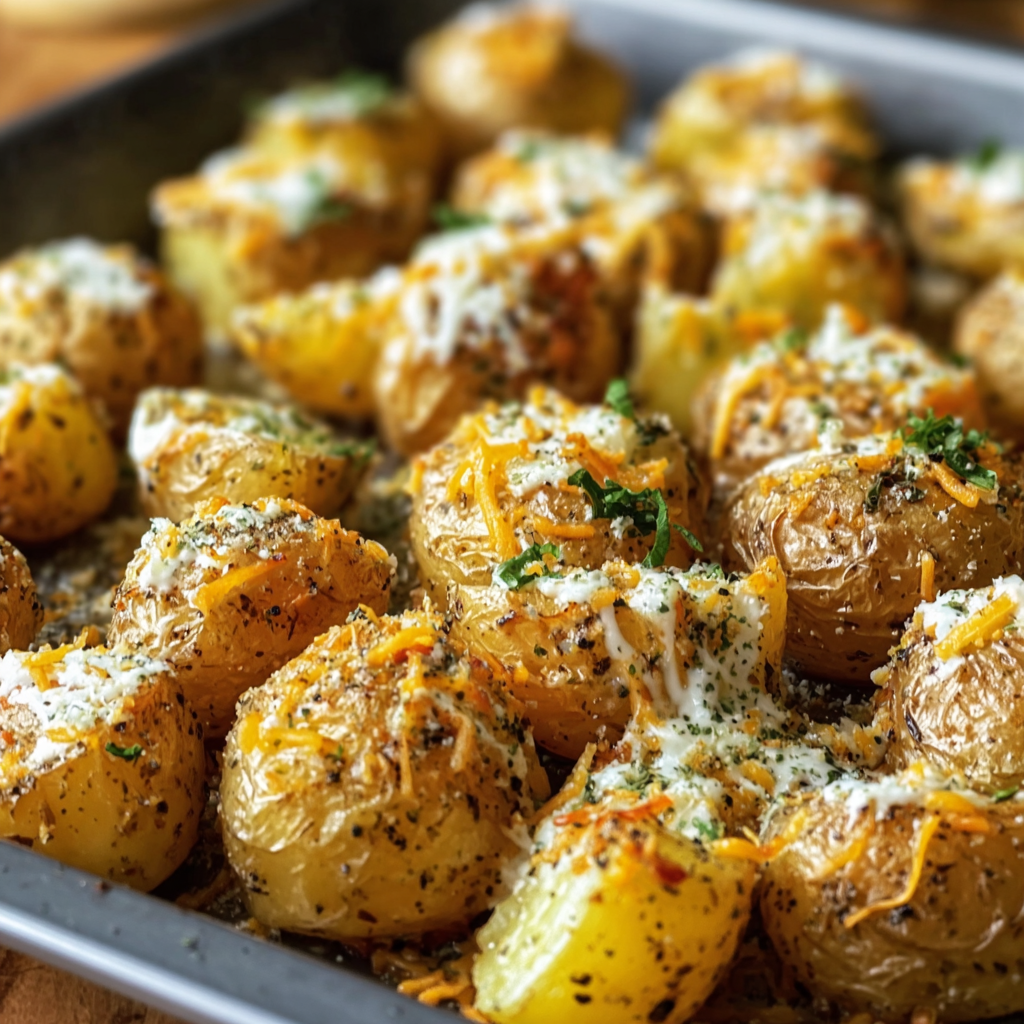
Cheesy Ranch Oven Roasted Potatoes
Golden baby potatoes roasted until crisp and tossed in ranch seasoning, Parmesan, and melty cheddar — an easy, crowd-pleasing side that’s ready in under an hour.
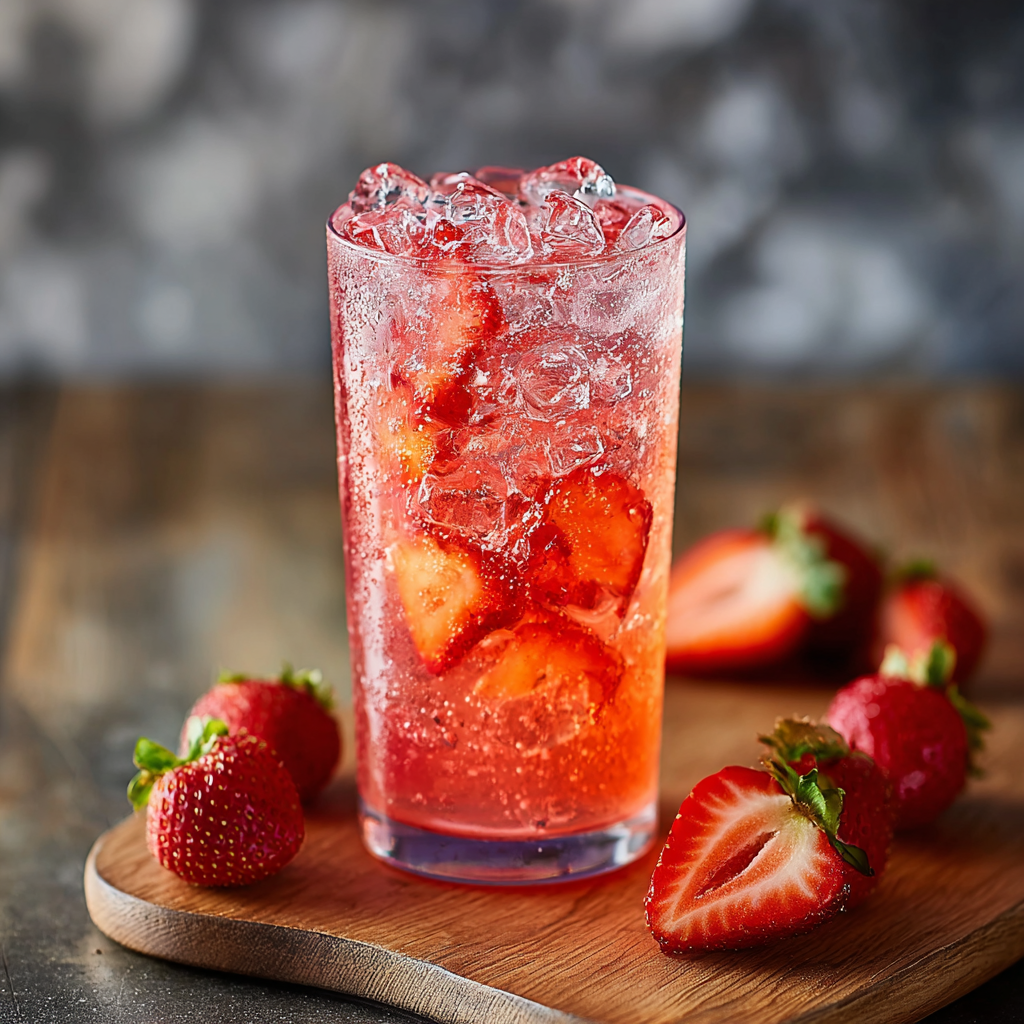
Strawberry Dirty Sprite Drink
A fizzy blend of strawberry syrup, fresh lime, and lemon-lime soda, served chilled with vibrant garnishes for the ultimate refreshing beverage — boozy or not.
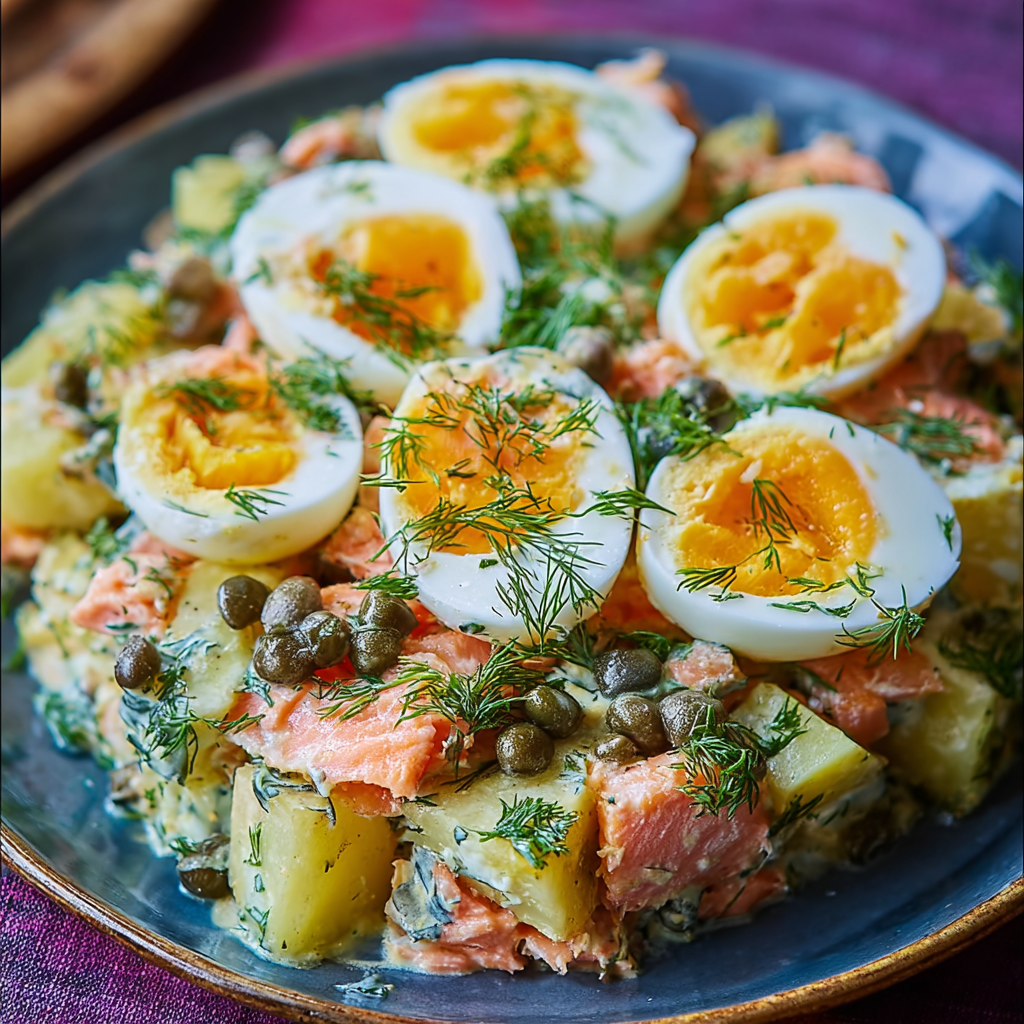
Russian Salmon Potato Salad with Eggs, Dill & Capers
A satisfying Russian-style salad combining seared salmon, tender baby potatoes, soft-boiled eggs, dill, capers and gherkins — perfect for light lunches or a weekend gathering.
Did You Make This?
Leave a comment & rating below or tag @kitchenfunwithmysons on social media!
Rate This Recipe
Share This Recipe
Enjoyed this recipe? Share it with friends and family, and don't forget to leave a review!
Comments (1)
This recipe looks amazing! Can't wait to try it.
Comments are stored locally in your browser. Server comments are displayed alongside your local comments.

Hi, I'm Katie!
What's Popular
30-Minute Meals!
Join to receive our email series which contains a round-up of some of our quick and easy family favorite recipes.