
Garlic Parmesan Cheeseburger Bombs

Flaky biscuit pockets filled with garlicky ground beef and a molten mix of Parmesan and cheddar. Perfect for game day, parties, or a cozy snack.
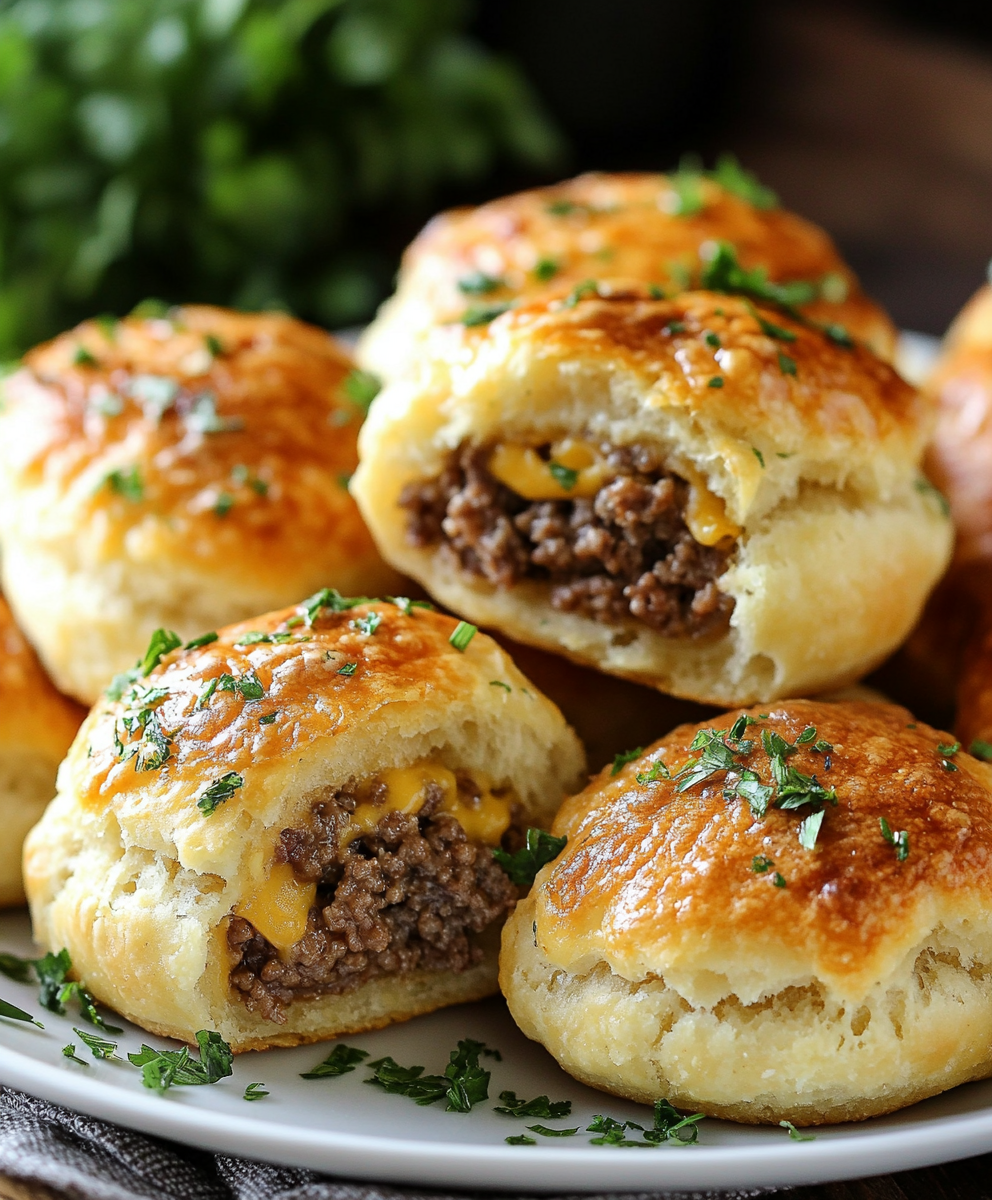
This plate of Garlic Parmesan Cheeseburger Bombs started as a solution to a dinner dilemma and quickly became a family favorite. I developed this version on a rainy Sunday afternoon when I wanted all the comfort of a cheeseburger without the fuss of flipping patties. The idea of wrapping seasoned ground beef and melty cheese inside a flaky biscuit came to me as I reached for a can of refrigerated biscuits in the pantry. From the first bite I knew I had something special: the buttery pastry, the savory garlic beef, and the sharp notes of Parmesan balancing the creaminess of cheddar.
I first served these at a small backyard gathering and watched as neighbors dipped them in ketchup and ranch, then came back for more. They are deceptively simple to assemble, deliver maximum flavor, and travel well, which is why they are my go-to for weekend entertaining. The texture is what makes them truly memorable: a golden, crisp exterior gives way to warm, juice-soaked beef and strings of molten cheddar. These little pockets turn ordinary ingredients into an irresistible snack that disappears fast.
Why You'll Love This Recipe
- Ready in around 30 minutes from start to finish, ideal for last-minute gatherings or a quick weeknight treat.
- Uses pantry and fridge staples like refrigerated biscuit dough, ground beef, garlic, Parmesan, and cheddar so you can pull it together without a special trip to the store.
- Make-ahead friendly: you can brown the meat and mix the filling earlier in the day, then assemble just before baking for a warm, fresh finish.
- Crowd-pleasing and portable: each piece is a handheld portion perfect for game day, potlucks, or a fun family dinner that kids and adults both enjoy.
- Customizable: swap the cheeses, use turkey or plant-based ground 'meat', or add diced pickles or sautéed onions to tune the flavor to your crowd.
In my house these have become the unofficial party starter. My partner likes to drizzle a little sriracha mayo, while my daughter insists on classic ketchup. I learned to be generous with the cheese and to seal the biscuit edges well so none of the savory juices escape during baking.
Ingredients
- Ground beef (1 pound): Choose 80 20 for a balance of flavor and moisture. The fat keeps the filling juicy; for a leaner option use 90 10 but expect a slightly drier filling.
- Garlic (2 cloves, minced): Fresh garlic is essential for the aromatic base. Mince finely so it distributes evenly and does not create raw pockets of flavor.
- Parmesan (1/2 cup, grated): Use a true Parmigiano Reggiano or a high quality grated Parmesan for nutty, savory notes that cut through the richness.
- Cheddar (1 cup, cubed): Sharp cheddar gives a robust melt. Cut into small cubes so the cheese melts quickly and consistently inside each pocket.
- Biscuit dough (1 can, 16.3 oz): I often use a flaky refrigerated biscuit such as Pillsbury Grands, which creates the signature golden crust.
- Butter (2 tablespoons, melted): Brushed on top to encourage browning and add a glossy finish.
- Parsley (1 tablespoon, chopped): Fresh parsley brightens the plate and adds a herbaceous contrast to the rich filling.
Instructions
Preheat and prepare: Preheat the oven to 375 degrees Fahrenheit so the dough bakes immediately and crisps. Line a baking sheet with parchment or a silicone mat to prevent sticking and for easy cleanup. Brown the beef: In a large skillet over medium heat, add the ground beef and minced garlic. Cook, breaking the meat into small pieces until no pink remains and the garlic is fragrant, about 6 to 8 minutes. Drain excess fat to prevent soggy pockets, then return the meat to the pan and let it cool slightly before adding cheese. Mix in the cheeses: Stir the grated Parmesan and cubed cheddar into the warm beef so the cheeses start to soften and bind the filling. Season lightly with salt and black pepper, remembering the Parmesan adds saltiness. Taste a small amount to adjust seasoning before filling the biscuits. Assemble the pockets: Separate the biscuit dough and flatten each biscuit into a round about 4 inches across using your fingers or a rolling pin. Place a generous tablespoon or two of the beef and cheese mixture into the center, leaving room at the edges. Bring the edges together to seal completely, pinching firmly so no filling escapes. Place seam side down on the prepared baking sheet. Brush, bake, and rest: Brush each pocket with melted butter to promote browning. Bake in the preheated oven for 12 to 15 minutes or until the tops are golden brown and the biscuits feel set when gently pressed. Let cool for 3 to 5 minutes so the filling settles before garnishing with chopped parsley and serving warm.
You Must Know
- These portions freeze well for up to 3 months once baked. Cool completely then wrap individually in plastic wrap and place in a freezer bag.
- Each piece is high in protein from the beef and cheese; store leftovers in the refrigerator for up to 3 days.
- Because the recipe uses refrigerated biscuits it is not gluten free unless you swap to a certified gluten free dough.
- Watch the oven closely in the last few minutes as biscuits can go from golden to overbrowned quickly.
My favorite moment with these is the first serving fresh from the oven. The steam that escapes when you open one is a small, delicious drama. I have learned to warn guests to let them cool a couple of minutes; the molten cheese can be deceptively hot. At our last family gathering someone commented that these taste like a nostalgic diner cheeseburger tucked into a pillow of pastry.

Storage Tips
Store baked portions in an airtight container in the refrigerator for up to three days. For longer storage, freeze on a baking sheet until firm, then transfer to a resealable freezer bag for up to three months. Reheat from frozen at 350 degrees Fahrenheit for 12 to 15 minutes on a lined sheet until heated through, or thaw overnight in the refrigerator and reheat for 8 to 10 minutes.
Ingredient Substitutions
For leaner filling, substitute ground turkey or chicken but add a teaspoon of olive oil to keep the filling moist. Swap the cheddar for pepper jack for heat or mozzarella for a milder, stringier melt. If you need gluten free, use a store-bought gluten free biscuit dough or make a simple drop biscuit with gluten free flour, though the texture will be slightly different.
Serving Suggestions
Serve warm with small bowls of ketchup, mustard, ranch dressing, or a tangy burger sauce. Pair with a crisp green salad or roasted potato wedges for a fuller meal. Garnish with extra chopped parsley or thinly sliced cornichons for acidity and crunch.
Cultural Background
These handheld pockets are a playful American hybrid inspired by classic cheeseburgers and savory stuffed pastry traditions. Think of them as the comfort of a diner cheeseburger transformed into a portable finger food. Variations of stuffed dough pockets appear across many cuisines; here the flavors lean distinctly toward nostalgic American burger toppings and cheeses.
Seasonal Adaptations
In summer add finely chopped grilled peppers and fresh tomato for brightness. In winter fold in caramelized onions and a teaspoon of Worcestershire sauce for depth. For holiday gatherings consider swapping cheddar for a smoked gouda and adding a pinch of smoked paprika to the beef.
Meal Prep Tips
Brown and season the meat a day ahead, cool completely, and refrigerate. On the day you plan to serve, assemble and bake for freshly finished pockets in 15 minutes. Store assembled but unbaked pockets on a lined tray covered with plastic wrap in the refrigerator for up to 4 hours before baking to maintain dough integrity.
These little pockets are simple, flexible, and comfortingly familiar. Whether you serve them as an appetizer or a main for a casual night in, they will bring people together. Try them once and you will find a dozen small ways to make them your own.
Pro Tips
Dry the pan after draining fat to prevent the biscuit bottoms from becoming soggy.
Cube the cheddar small so it melts evenly and does not create a cold center.
Seal the biscuit seams tightly and press seams flat against the baking sheet to reduce leakage.
Let the pockets rest 3 to 5 minutes after baking to allow the filling to set and prevent burns.
This nourishing garlic parmesan cheeseburger bombs recipe is sure to be a staple in your kitchen. Enjoy every moist, high protein slice — it is perfect for breakfast or as a wholesome snack any time.
FAQs about Recipes
Can I freeze these?
Yes. Baked pockets can be frozen for up to three months. Cool completely, wrap individually and place in a freezer bag. Reheat at 350 degrees Fahrenheit until heated through.
How do I prevent the filling from leaking?
Use a pastry brush to seal edges firmly and press with a fork if needed. Make sure no filling is exposed to prevent leaks.
Tags
Garlic Parmesan Cheeseburger Bombs
This Garlic Parmesan Cheeseburger Bombs recipe makes perfectly juicy, tender, and flavorful steak every time! Serve with potatoes and a side salad for an unforgettable dinner in under 30 minutes.
Ingredients
Filling
Dough and Topping
Instructions
Preheat and prepare baking sheet
Preheat oven to 375 degrees Fahrenheit and line a baking sheet with parchment paper or a silicone mat.
Brown the beef with garlic
In a large skillet over medium heat, cook the ground beef with minced garlic until browned and no pink remains, about 6 to 8 minutes. Drain excess fat and return meat to the pan to cool slightly.
Combine cheeses with beef
Stir grated Parmesan and cubed cheddar into the warm beef so the cheese softens and binds the mixture. Season with salt and pepper to taste.
Assemble pockets
Flatten each biscuit into a 4 inch round. Place a heaping tablespoon or two of filling in the center, bring edges together, and seal firmly. Place seam side down on the prepared baking sheet.
Bake and finish
Brush each sealed biscuit with melted butter and bake for 12 to 15 minutes until golden. Let rest 3 to 5 minutes, garnish with chopped parsley, and serve warm.
Last Step: Please leave a rating and comment letting us know how you liked this recipe! This helps our business to thrive and continue providing free, high-quality recipes for you.
Nutrition
Did You Make This?
Leave a comment & rating below or tag
@kitchenfunwithmy3sons on social media!
Categories:
You might also like...
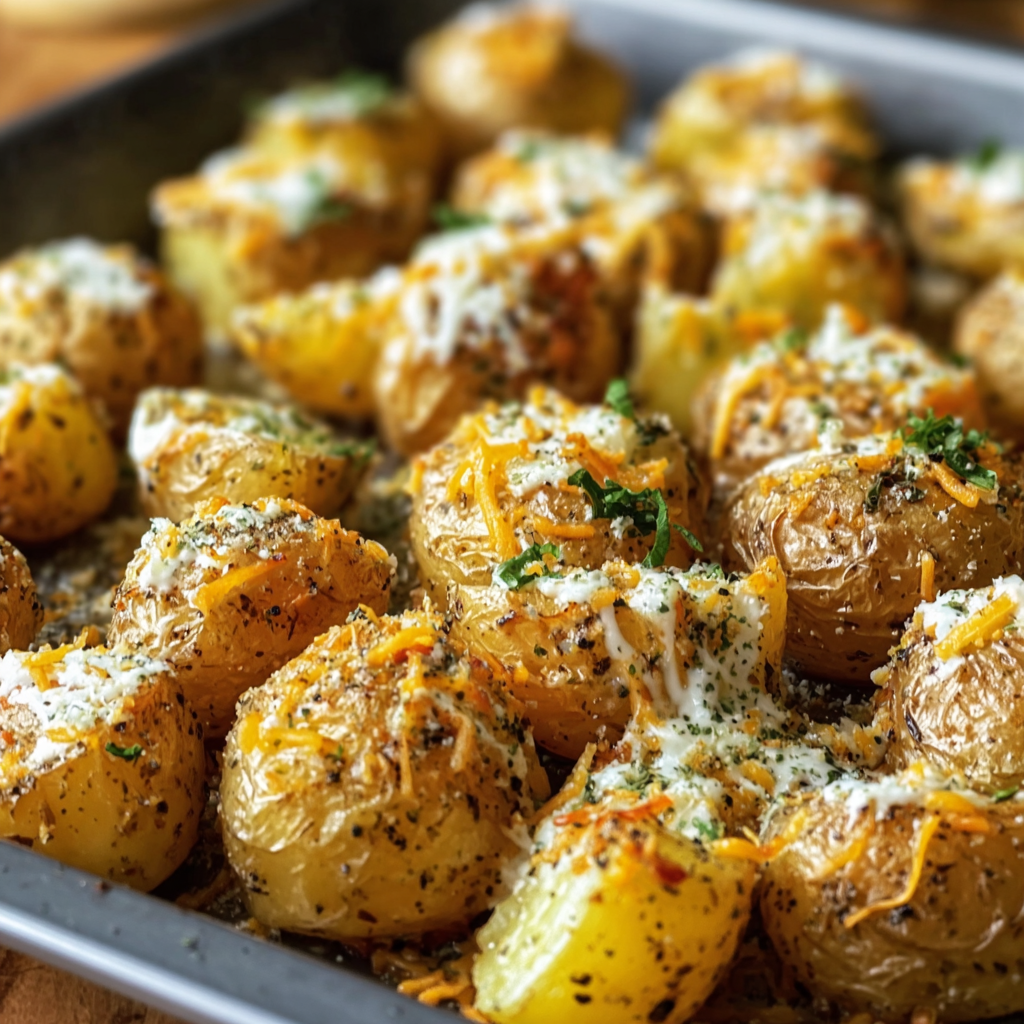
Cheesy Ranch Oven Roasted Potatoes
Golden baby potatoes roasted until crisp and tossed in ranch seasoning, Parmesan, and melty cheddar — an easy, crowd-pleasing side that’s ready in under an hour.

Strawberry Dirty Sprite Drink
A fizzy blend of strawberry syrup, fresh lime, and lemon-lime soda, served chilled with vibrant garnishes for the ultimate refreshing beverage — boozy or not.
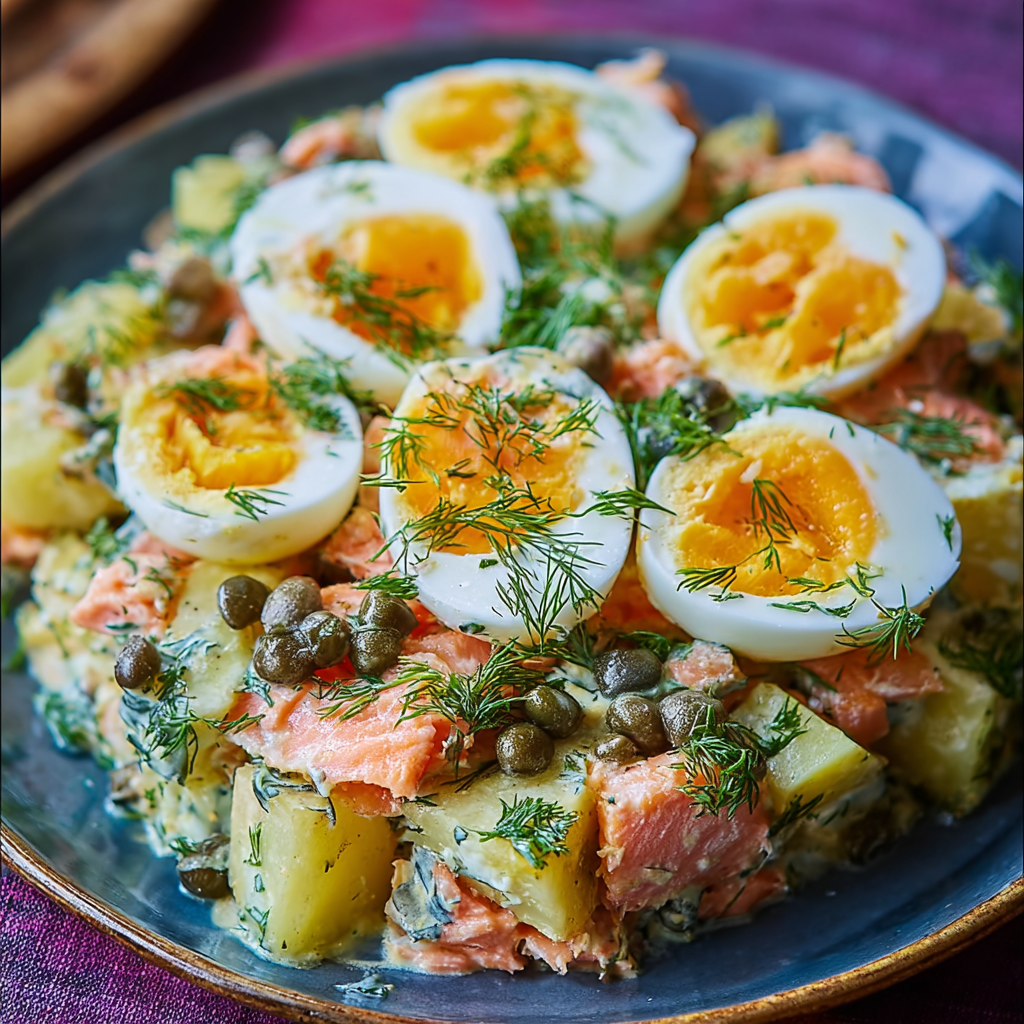
Russian Salmon Potato Salad with Eggs, Dill & Capers
A satisfying Russian-style salad combining seared salmon, tender baby potatoes, soft-boiled eggs, dill, capers and gherkins — perfect for light lunches or a weekend gathering.
Did You Make This?
Leave a comment & rating below or tag @kitchenfunwithmysons on social media!
Rate This Recipe
Share This Recipe
Enjoyed this recipe? Share it with friends and family, and don't forget to leave a review!
Comments (1)
This recipe looks amazing! Can't wait to try it.
Comments are stored locally in your browser. Server comments are displayed alongside your local comments.

Hi, I'm Katie!
What's Popular
30-Minute Meals!
Join to receive our email series which contains a round-up of some of our quick and easy family favorite recipes.